How to create WIFI Hotspot on Ubuntu to Share Internet
Below I have shown how to use default network manager to create a wireless hotspot in Ubuntu 14.04 to share Internet from Laptop to Mobile or other laptop.
 Steps
Steps

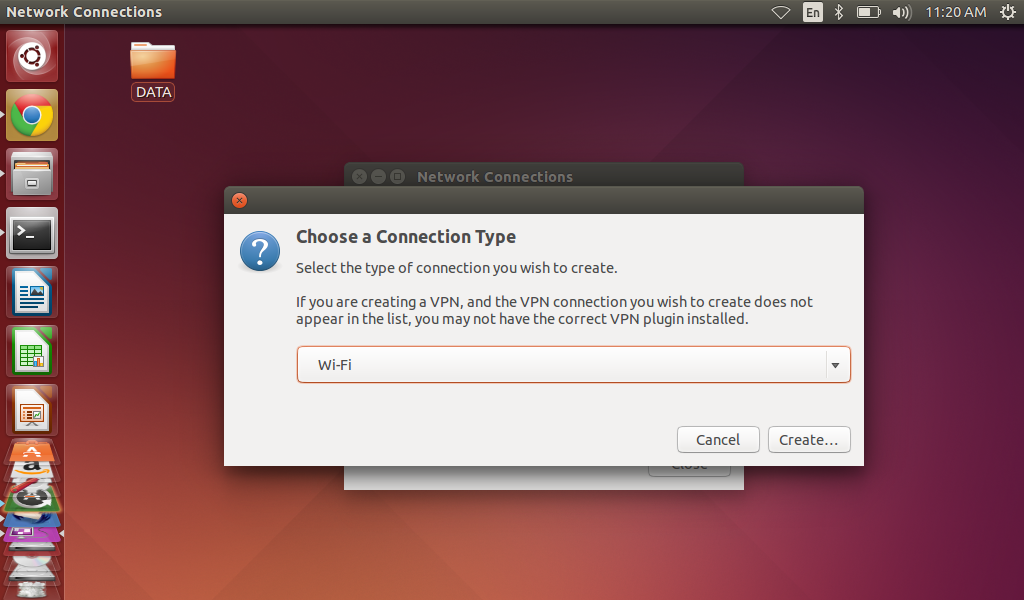
3. Choose Wi-Fi from the drop-down menu when you’re asked to choose a connection type:


When done, click the save button.
After above steps, a configuration file created under/etc/Network Manager/system-connections directory. File name is same to the connection name
#gksu gedit /etc/NetworkManager/system-connections/Wi-Fi\ connection\ 1
if gkus command not found, install it by running command
$sudo apt-get install gksu
When the file opens, find the line mode=infrastructure and change it to mode=ap and save it

When everything’s done, enable WIFI from Network Manager Icon on the top panel. It should automatically connect to the hotspot you created. If not,
select “Connect to Hidden Wi-Fi Network …” and select it from the drop-down box. Now you can connect Internet through any WIFI device


- Disable WIFI and plug in an internet cable or USB Dongle to your laptop so that your Ubuntu is connect to the internet and wireless is disabled,
- Go to Network Icon on top panel -> Edit Connections …, and then click the Add button in the pop-up window.

- In next window, do:
- Type a SSID
- Select mode: Infrastructure

- Go to Wi-Fi Securitytab, select security type WPA & WPA2 Personal and set a password.
- Go to IPv4 Settingstab, from Method drop-down box select Shared to other computers.

When done, click the save button.
After above steps, a configuration file created under/etc/Network Manager/system-connections directory. File name is same to the connection name
- Now open terminal. Paste the commands below and hit enter to edit the configuration file:
#gksu gedit /etc/NetworkManager/system-connections/Wi-Fi\ connection\ 1
if gkus command not found, install it by running command
$sudo apt-get install gksu
When the file opens, find the line mode=infrastructure and change it to mode=ap and save it

When everything’s done, enable WIFI from Network Manager Icon on the top panel. It should automatically connect to the hotspot you created. If not,
select “Connect to Hidden Wi-Fi Network …” and select it from the drop-down box. Now you can connect Internet through any WIFI device

How to create WIFI Hotspot on Ubuntu to Share Internet
 Reviewed by TecGeeks News
on
April 05, 2016
Rating:
Reviewed by TecGeeks News
on
April 05, 2016
Rating:
Reviewed by TecGeeks News
on
April 05, 2016
Rating:


No comments: